Creating a beautiful patio can transform your outdoor space into a perfect spot for relaxation and entertainment. At StoneKraft, we offer a range of materials to help you bring your patio vision to life. This guide will take you through the essential steps for creating a patio from scratch, with references to the quality materials available on our website.

Step 1: Planning Your Patio
Begin by deciding the purpose and size of your patio. Consider where it will be located, the amount of sunlight it receives, and how it will complement your landscaping. Give us a call to map out your ideas and/or request a referral to a reputable local contractor.

Step 2: Gathering Materials

Once you have a plan, gather the materials you’ll need. StoneKraft offers an array of landscaping stones, flagstone, and gravel perfect for any patio design. Our durable options ensure your patio is not only beautiful but also withstands the test of time. Check out our selection of:
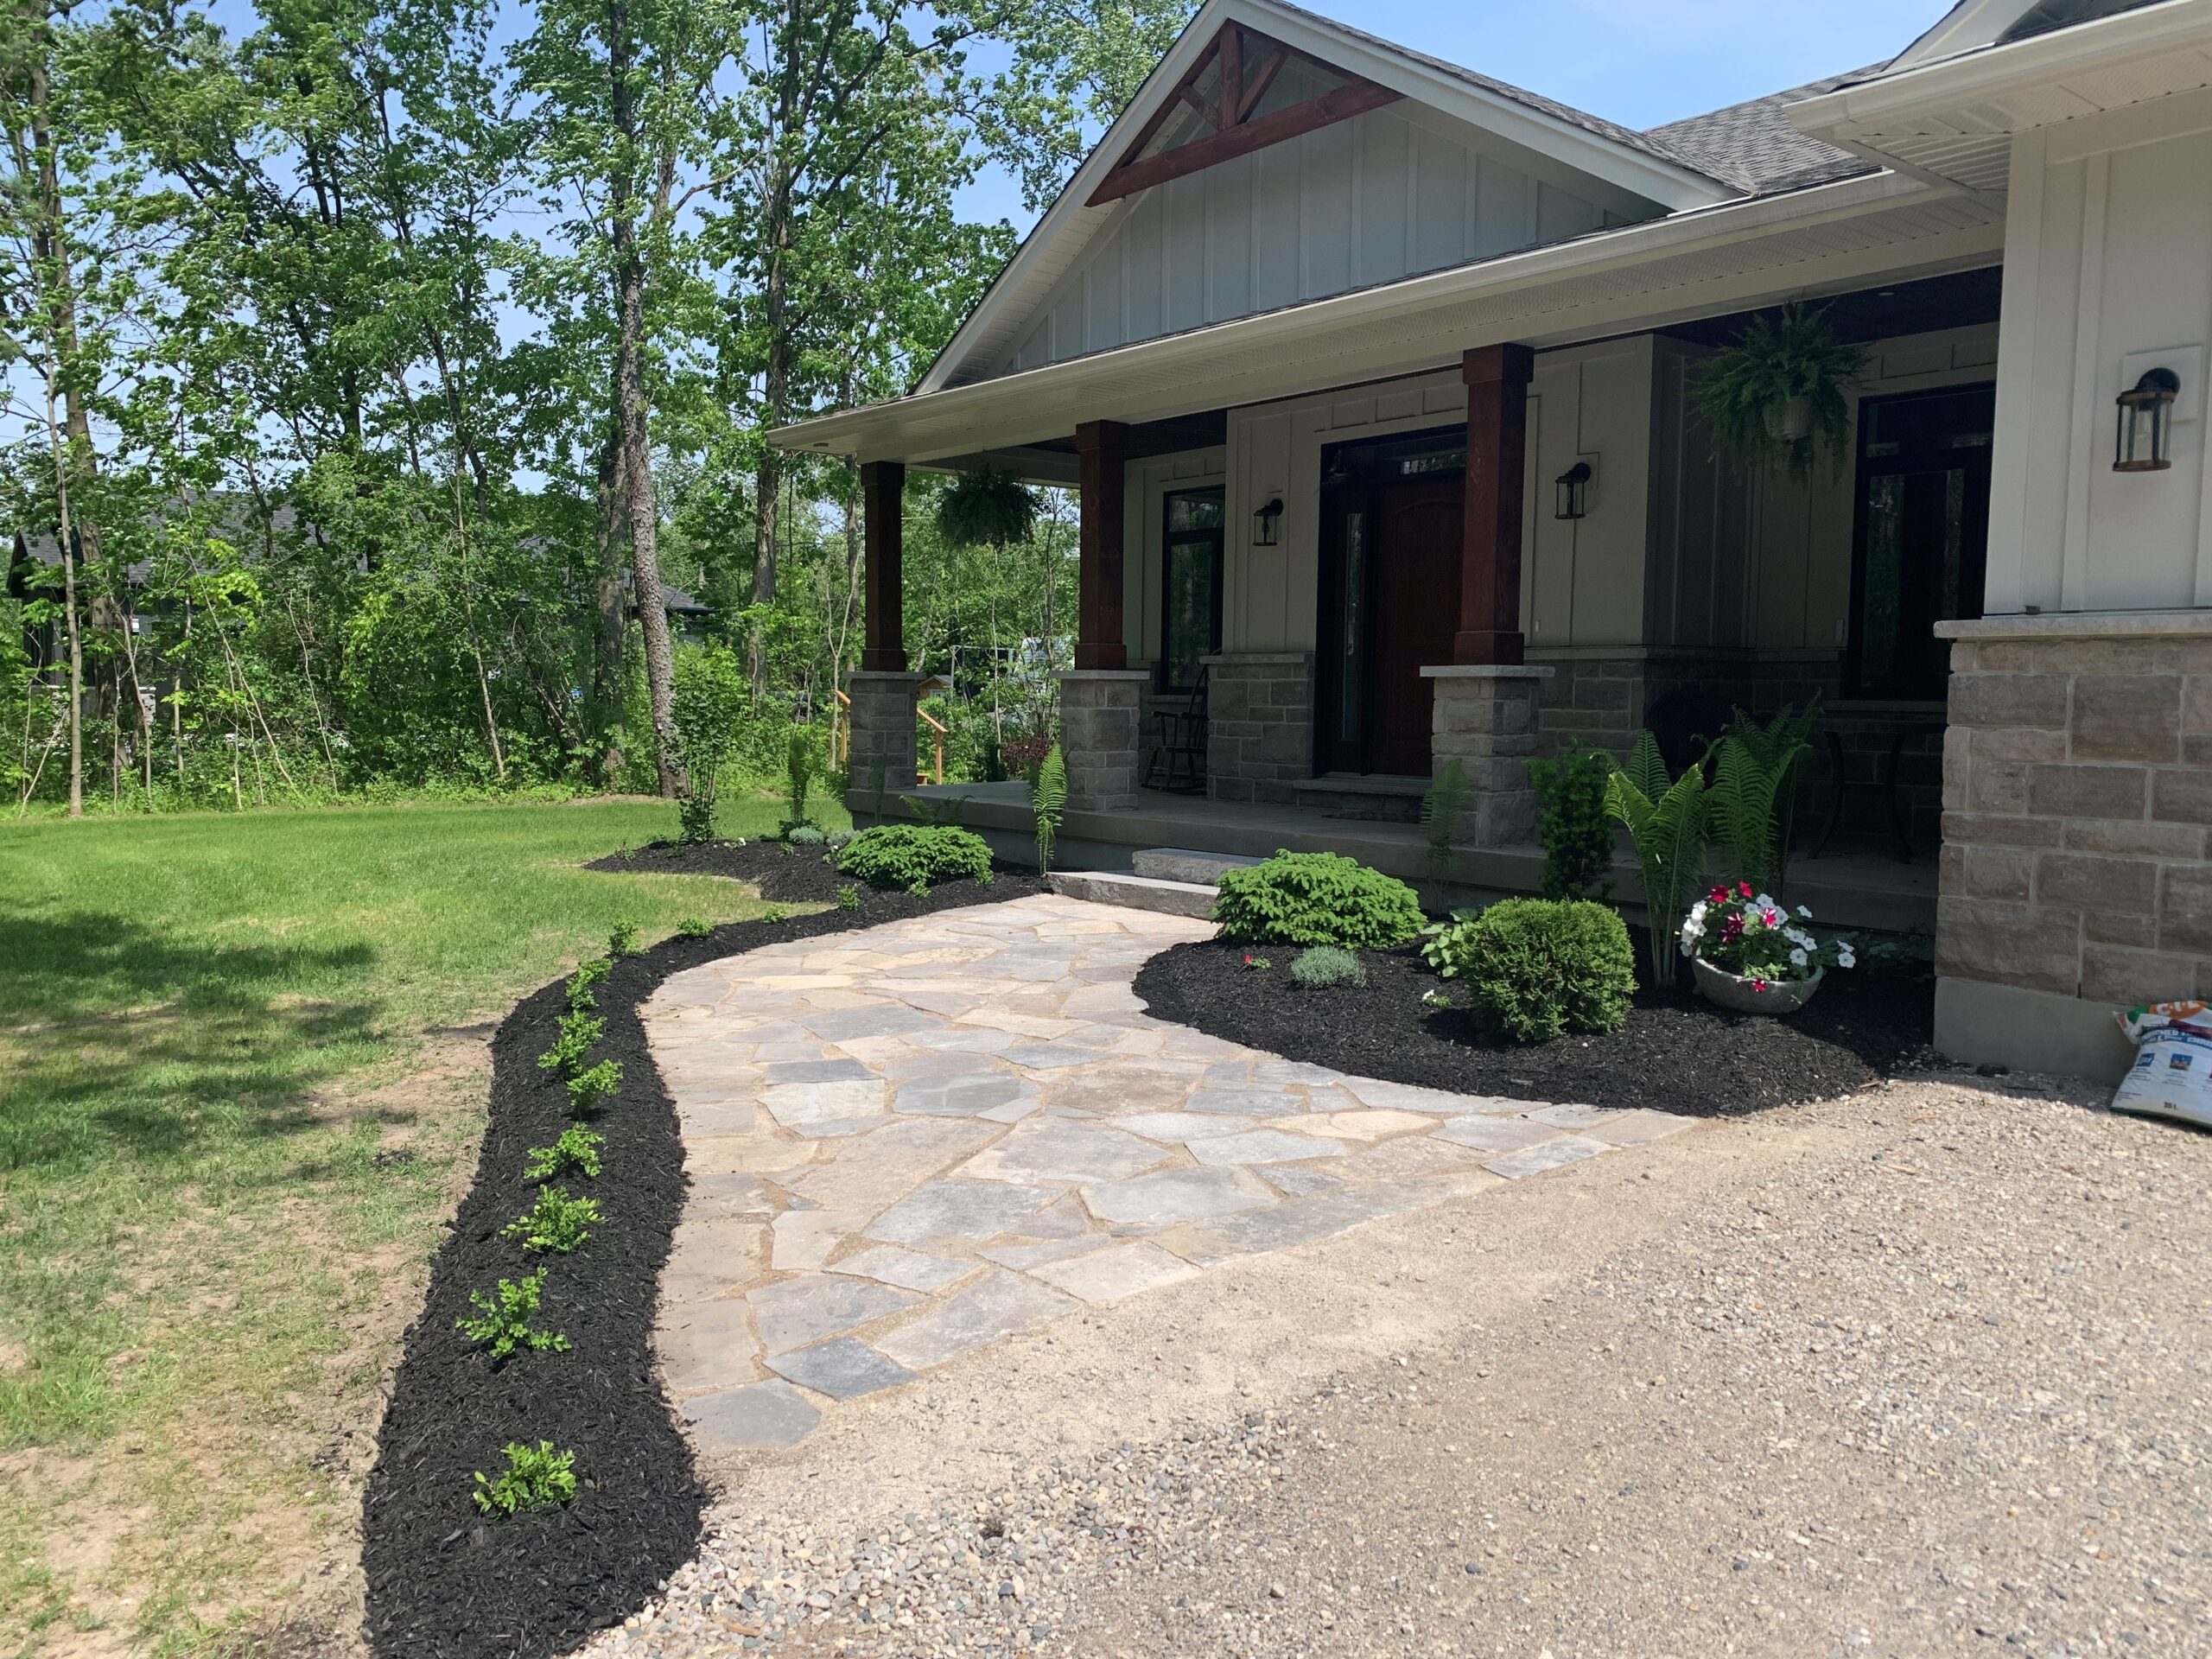
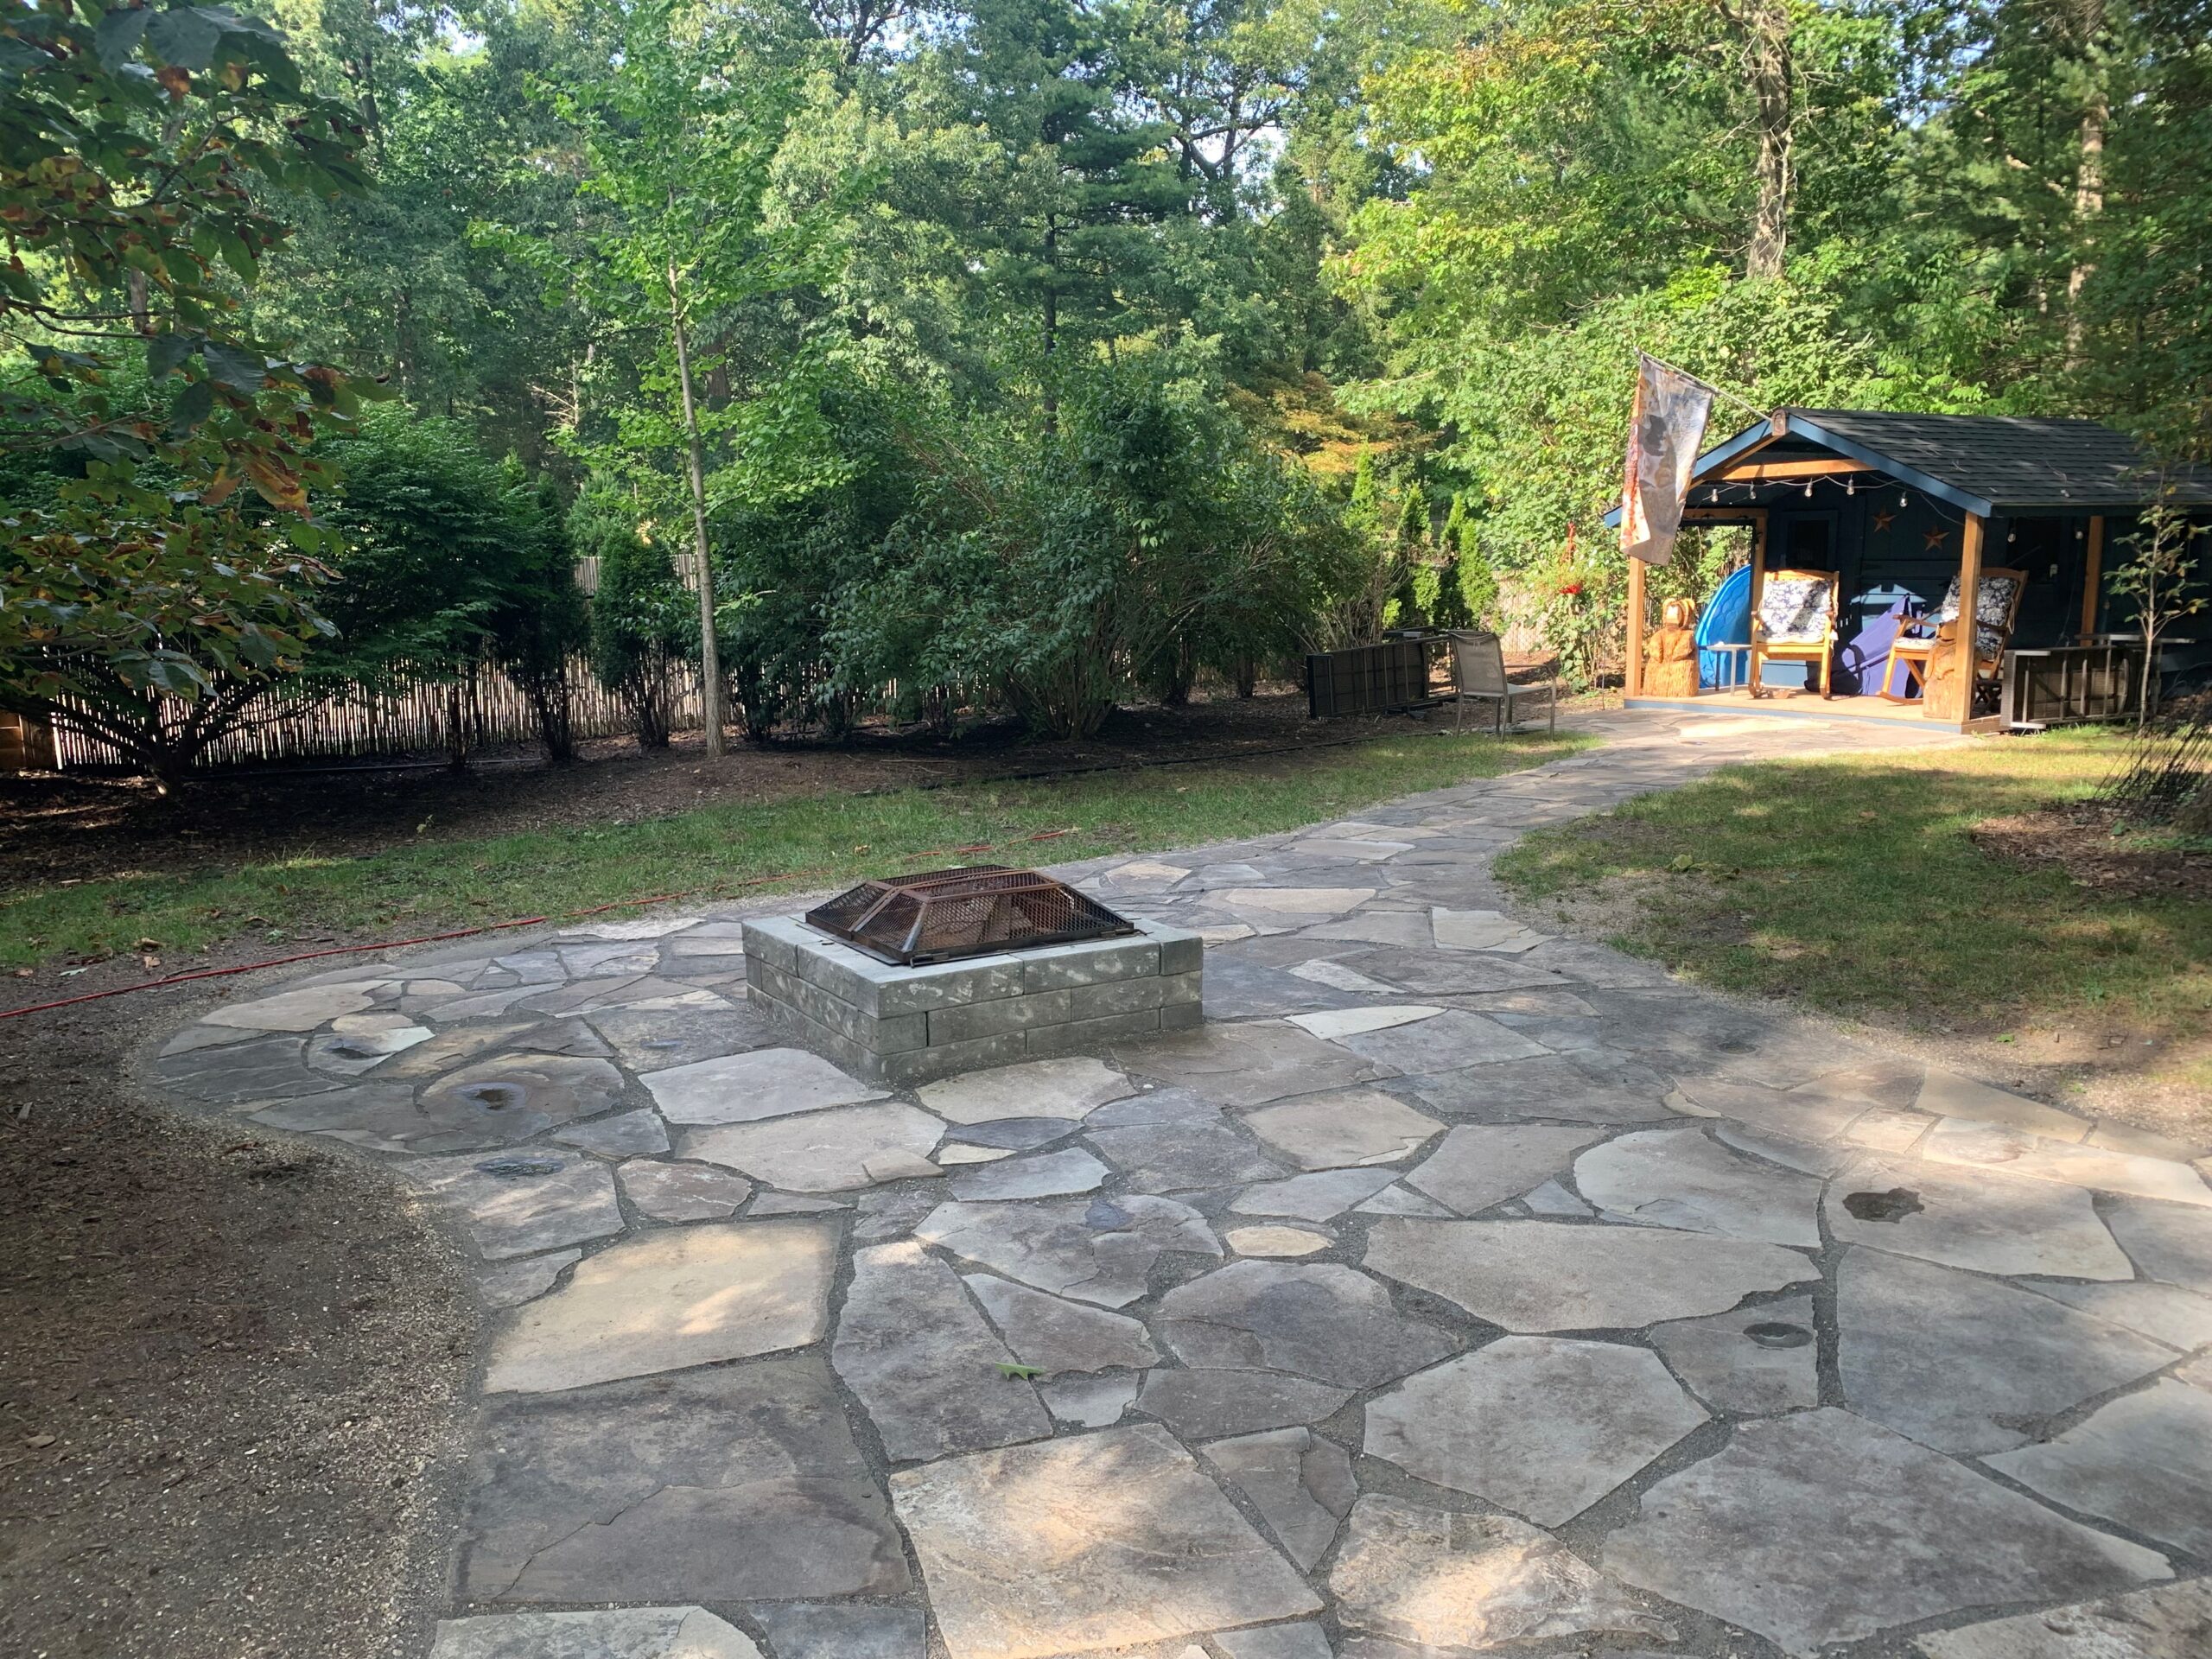
Flagstone : Available in various colors and sizes for a customizable look.
Armour Stone: Perfect for a rustic feel, providing a unique touch.
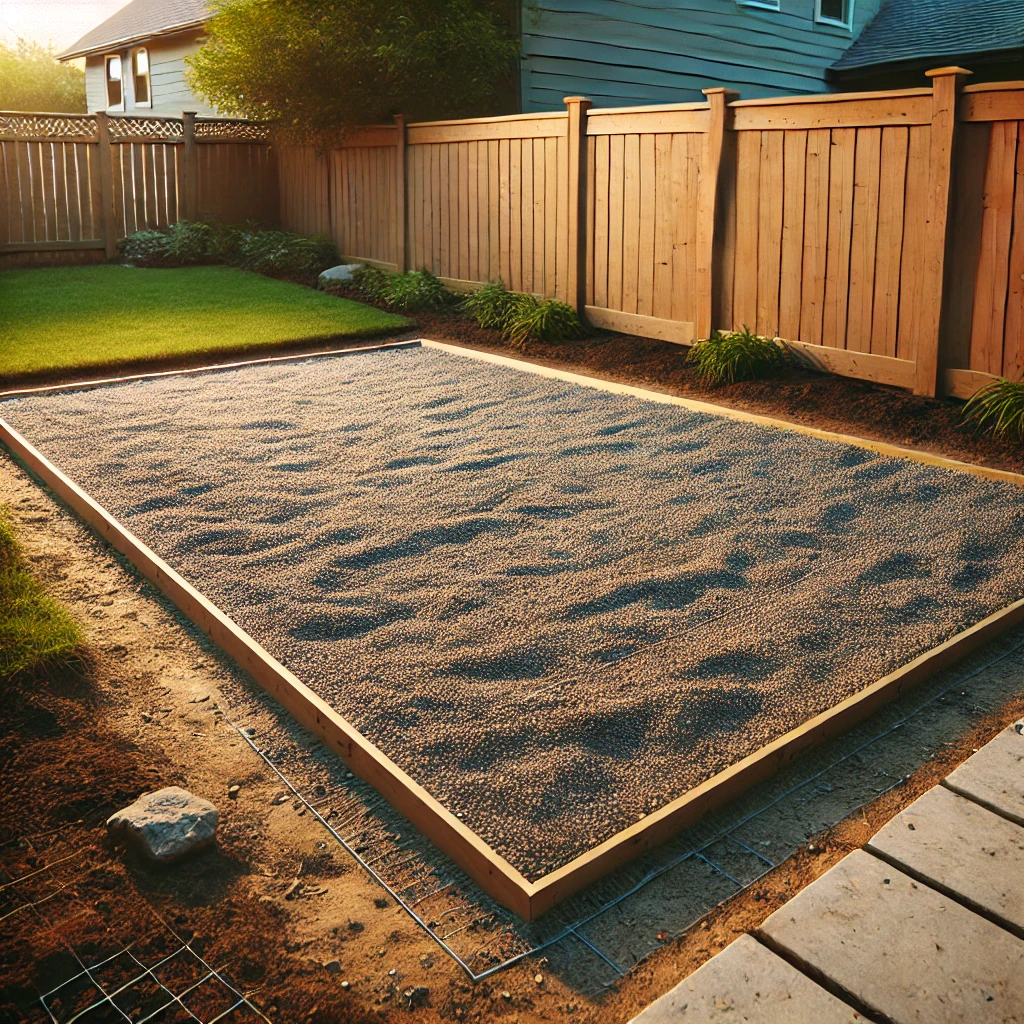
Base Gravel: Essential for a stable foundation.
Step 3: Preparing the Area
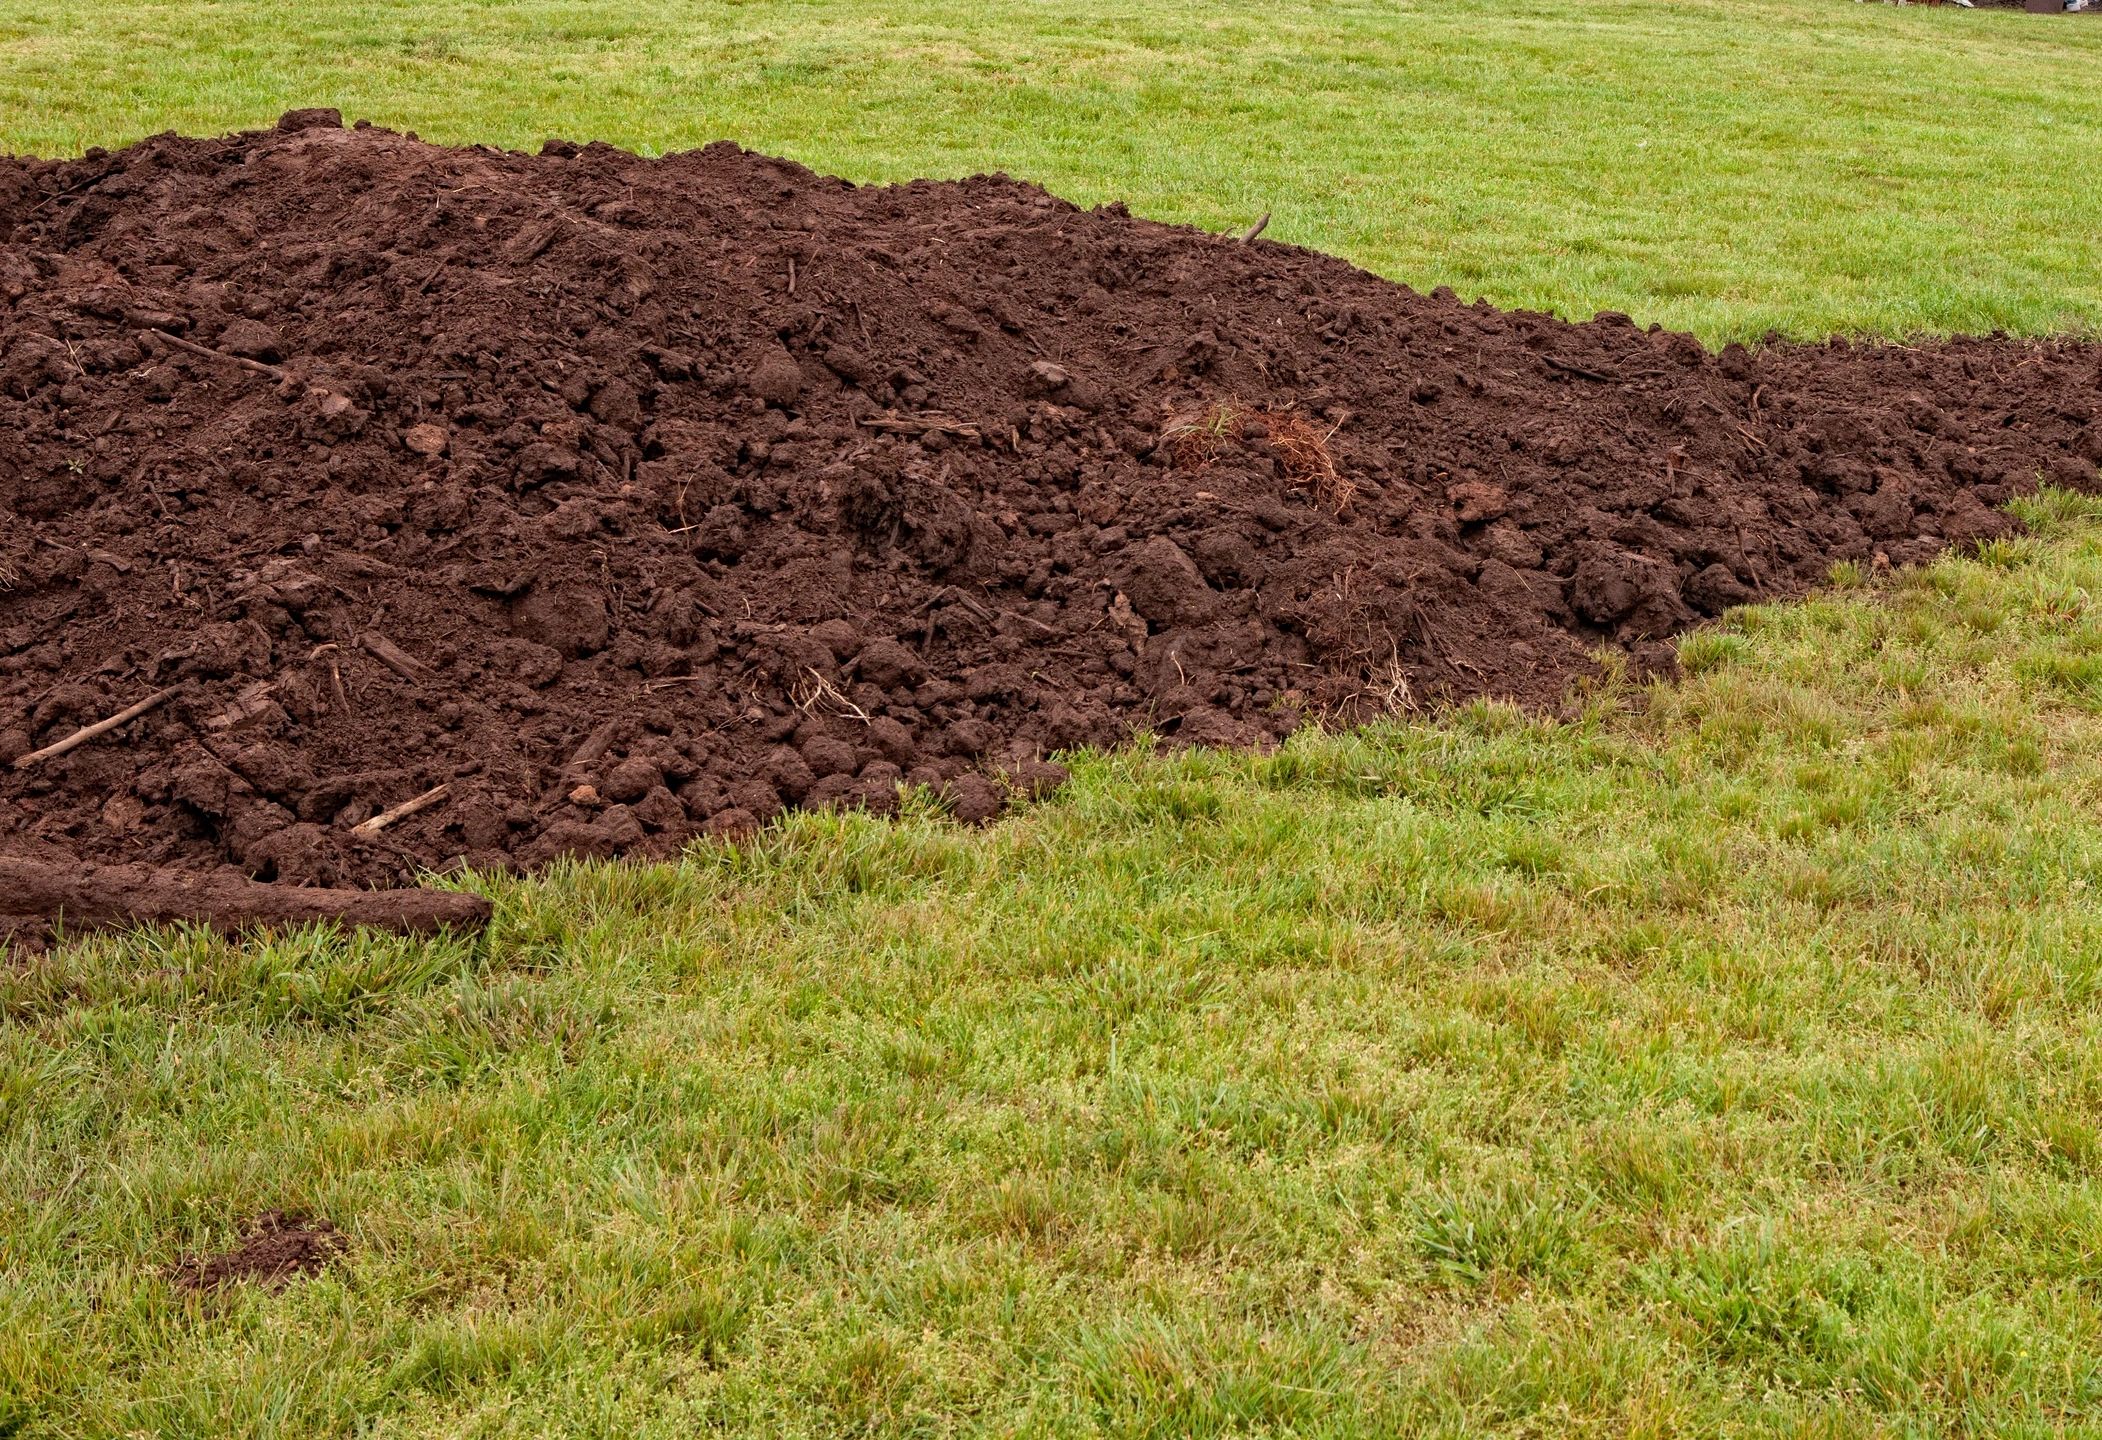
Begin by removing any grass, weeds, rocks, or debris from the selected site. A clean area is vital for accurate measurements and ensures that your patio will sit level.
Tip: Use a shovel or garden spade for smaller areas. For larger projects, a sod cutter may be beneficial to efficiently remove grass and roots.
Using stakes and string, outline the perimeter of your patio to define its shape and dimensions. This visual reference will guide your excavation and help ensure that it’s level.

Professional Help: If you are unsure about the layout or need assistance with complex designs, consider hiring a landscape designer from our local referral list. They can guide you in choosing the right shape and size that fits your space.
Excavation is crucial, as it removes the topsoil and prepares the foundation for the gravel base. Aim to excavate the area to a depth of 6-8 inches, depending on the thickness of your pavers.
Equipment Recommendations: For excavation, a mini excavator or backhoe can be rented from local equipment suppliers listed on our referral list. This heavy-duty machinery allows for efficient clearing and digging, especially in larger spaces.
Step 4: Creating a Solid Base

Once the area is excavated, ensure that it is level. Use a long level or a straight board to check for any low spots. Filling these with soil will help create an even base. After leveling, add a crushed gravel to provide a solid base. Spread the gravel evenly across the area, and then compact it thoroughly with a plate compactor. This step is essential to prevent future settling and shifting.
Local Resources: If you don’t have a plate tamper, it can be rented from equipment rental companies on our referral list. Experts at these locations can provide instructions on proper use for best results.
Step 5: Laying the Stone or Pavers
Start laying your chosen flagstone or pavers from one corner and work across the area. Leave gaps for sand to fill in between the stones, which will help lock them in place. At StoneKraft, we have high-quality polymeric sand available that shifts less and helps prevent weed growth.

Step 6: Finishing Touches
Once all pavers are laid, brush sand into the joints, and level them off. You can add edging for a polished look, with planters or outdoor furniture to enhance your new patio space.

Step 7: Enjoy Your New Patio!


