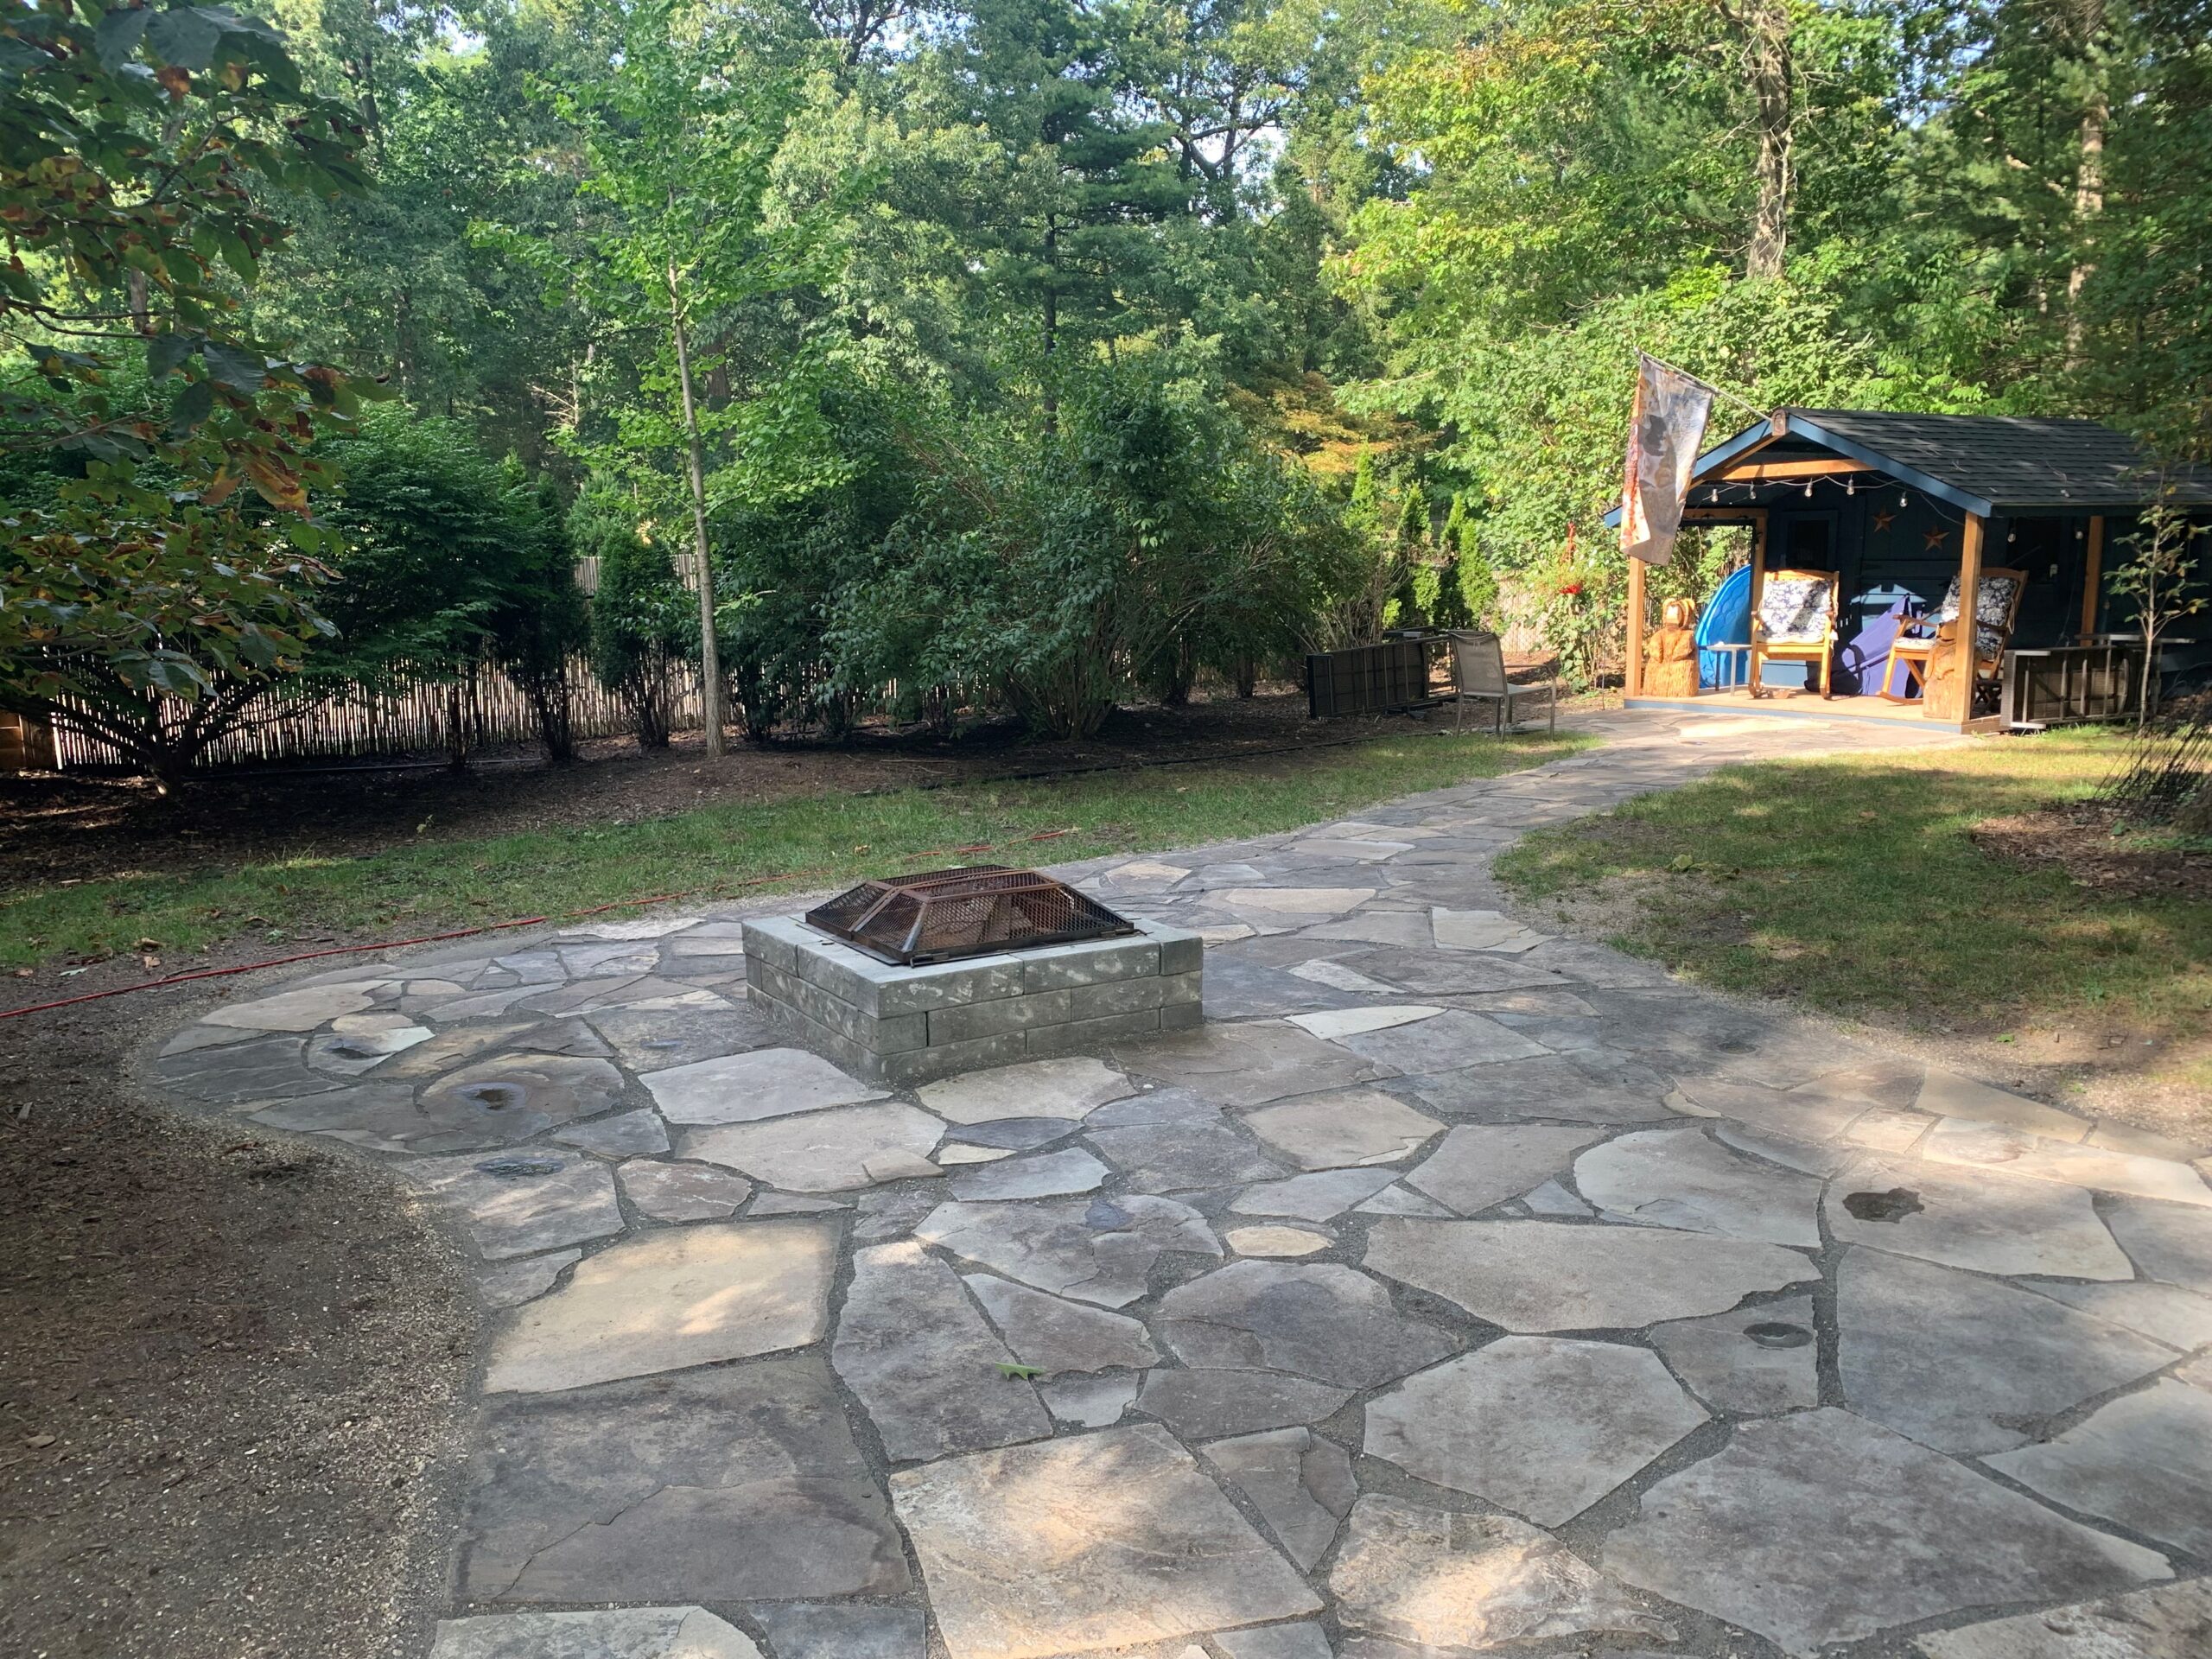
Creating a beautiful, functional walkway can transform your outdoor space, whether it’s leading through your garden, around your home, or to a backyard patio. A well-constructed walkway not only adds curb appeal but also provides a practical path for foot traffic. If you’re in Grand Bend or the surrounding area, StoneKraft has everything you need to create a durable and attractive walkway using quality materials. Here’s your step-by-step DIY guide, from planning to finishing touches, with the best products available at StoneKraft.ca.
Materials You’ll Need:
To get started, here’s a list of the materials you’ll need for your walkway project, all available at StoneKraft:
- Pavers: Choose from a variety of shapes, sizes, and colors. Some popular options for walkways are natural stone, interlocking concrete pavers, and flagstone. Consider our StoneKraft Flagstone for a rustic look. From small flagstone to jumbo for pathways, we offer an excellent selection of stone and pavers to choose from.
- Crushed Stone or Gravel: For the base layer and between the pavers, crushed stone or gravel will ensure proper drainage. We offer 3/4″ Crushed Stone all the way down in size to Stone Chips & Dust, which compact well and provide a solid foundation. Small, compacted stone chips provide a stable base layer for walkways. We recommend Stone Chips & Dust or 1/8″ Stone Chips as a solid, durable option for pathways.
- Edging Material: To keep the pavers in place, you’ll need plastic or metal edging. We carry sturdy Plastic Edging Rolls that are easy to install.
- Sand: A layer of sand is necessary to level your pavers. We recommend Polymeric Sand, which hardens after rain, preventing shifting and weed growth.
- Optional Decorative Materials: Enhance the beauty of your walkway with decorative stone, such as River Rock or Pea Gravel.
Step 1: Plan Your Walkway
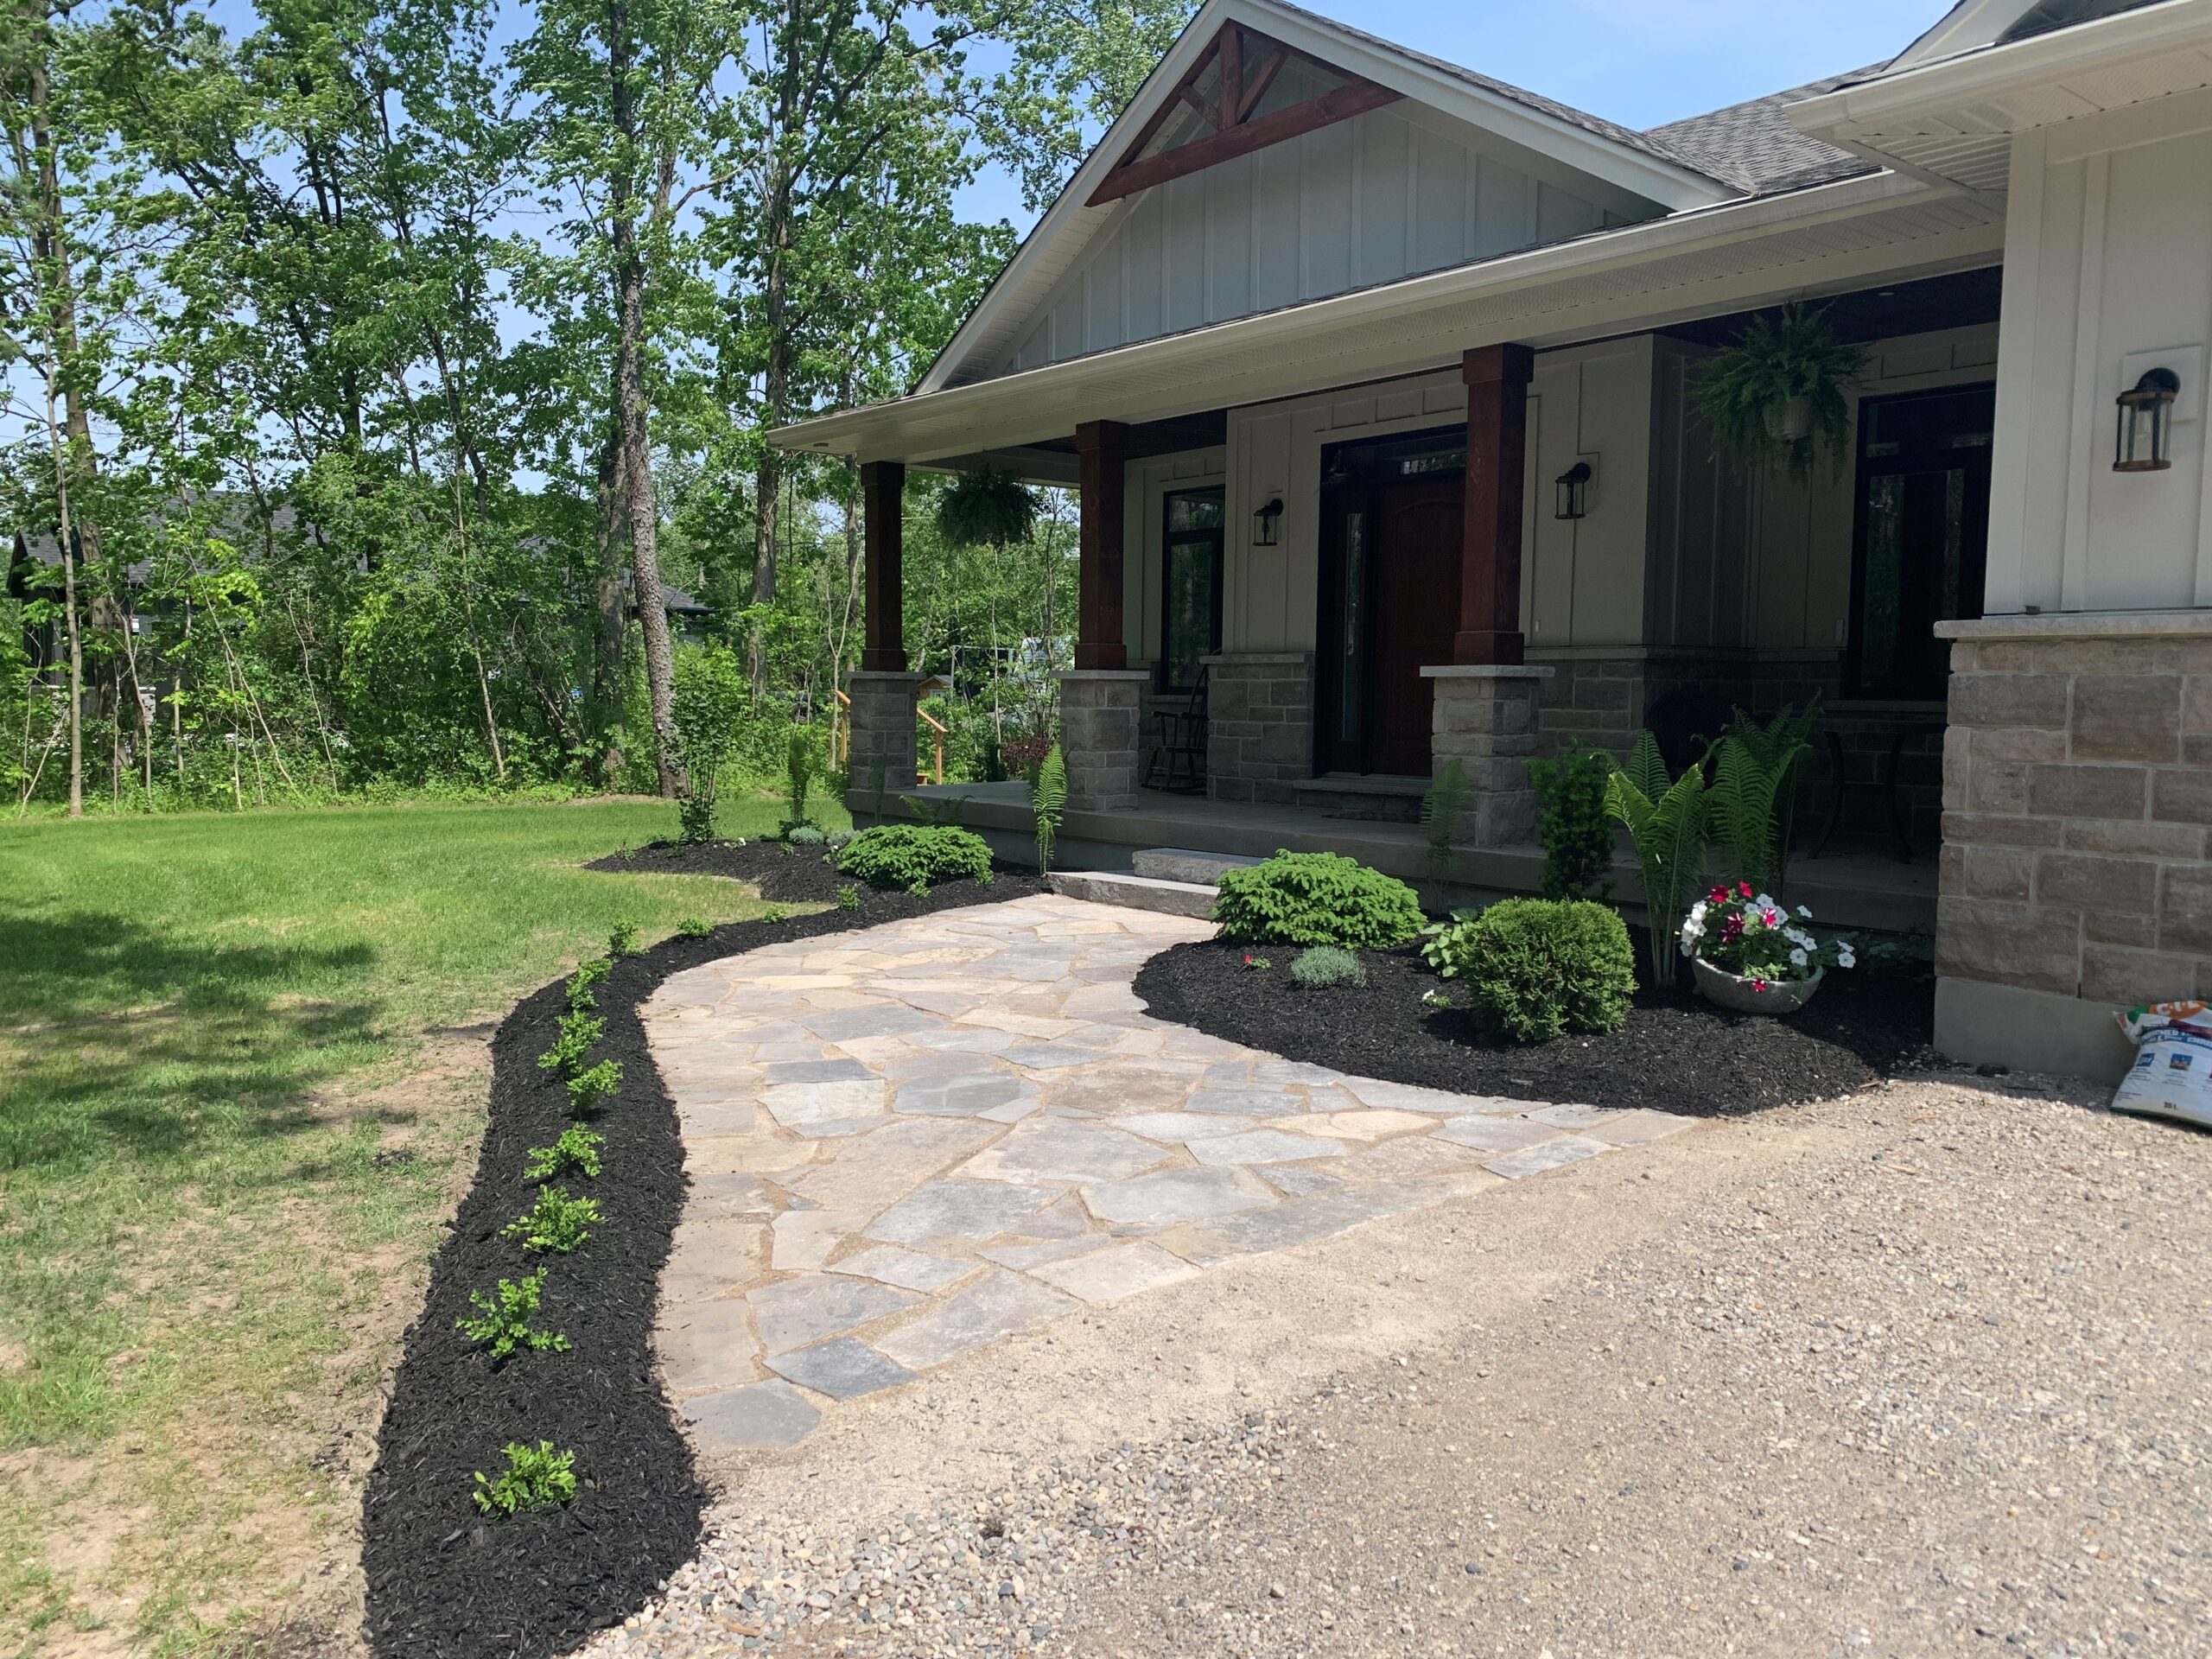
The first step is determining the location, size, and shape of your walkway. Consider the natural flow of your landscape and where foot traffic is likely to occur. You can choose a simple straight path, or add curves for a more organic look.
Tip: If you have a sloped area, plan for proper drainage to avoid water pooling on your walkway.
Step 2: Mark and Dig the Path
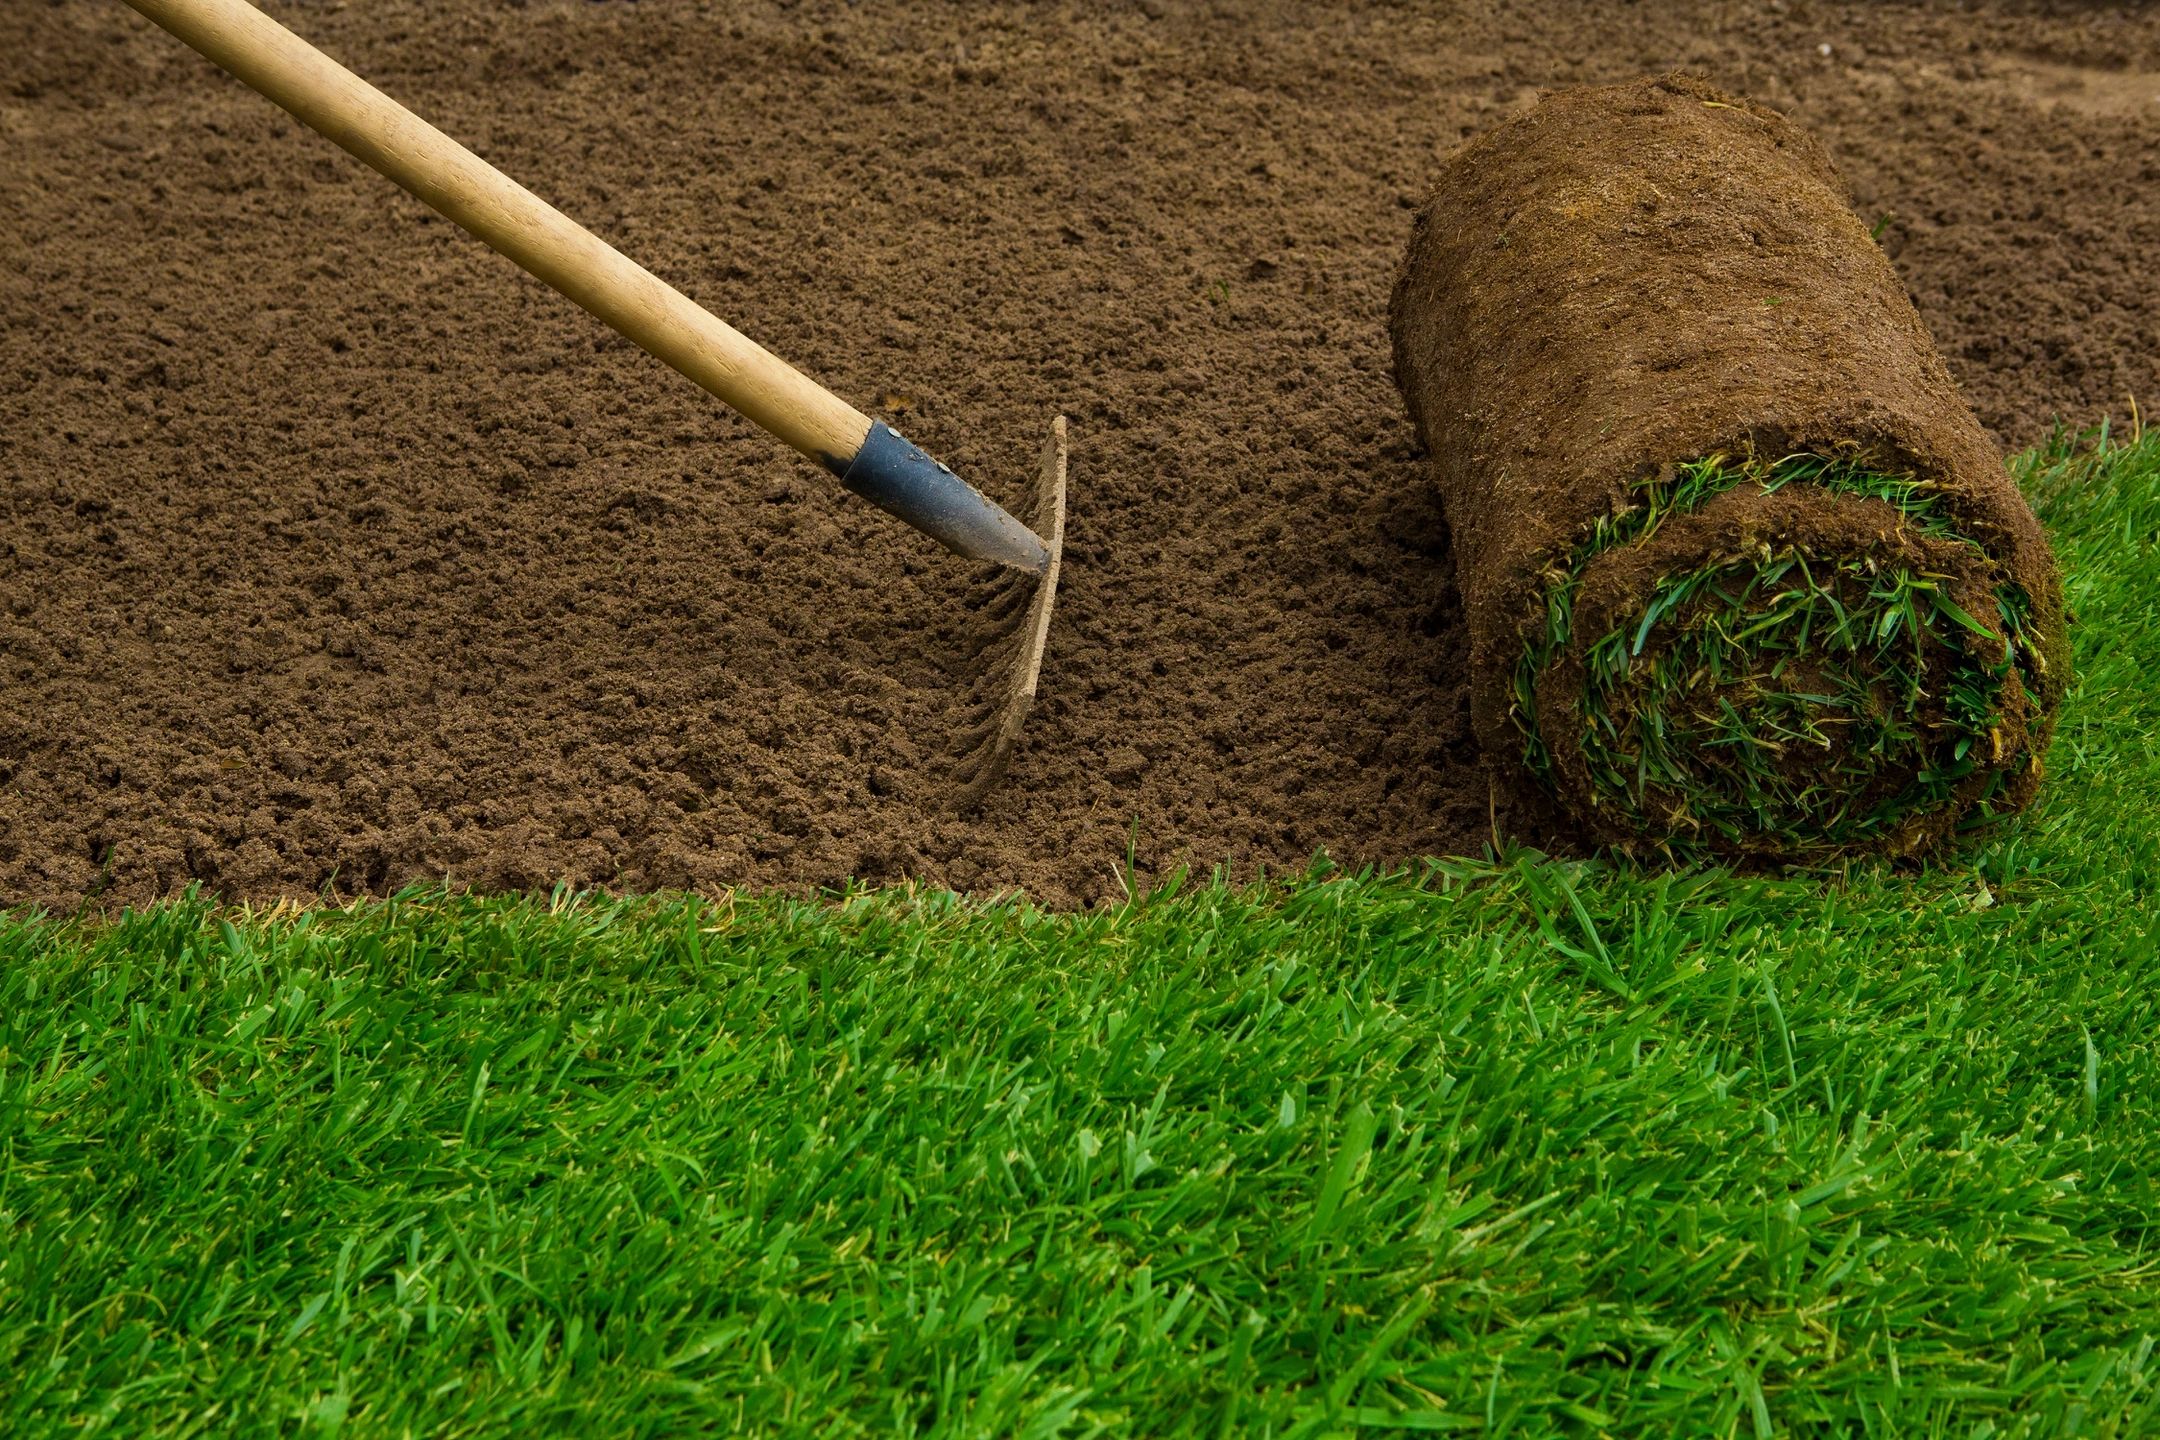
Once you’ve planned your layout, use spray paint or a garden hose to outline the edges of your walkway. If you’re working on a larger project, using an excavator will expedite the digging process significantly compared to hand-digging. This is especially helpful for longer or wider walkways, where hand-digging can be time-consuming and physically demanding.
Once the area is marked out, you’ll need to excavate to a depth of about 4–6 inches, depending on the size of your pavers. For a solid, durable foundation, consider using Stone Chips or 1/8 Chip, which can be easily tamped down to form a compacted base layer.
Tip: Ensure that the ground has a slight slope (1–2%) away from buildings or other structures to promote water runoff.
Step 3: Create a Solid Base
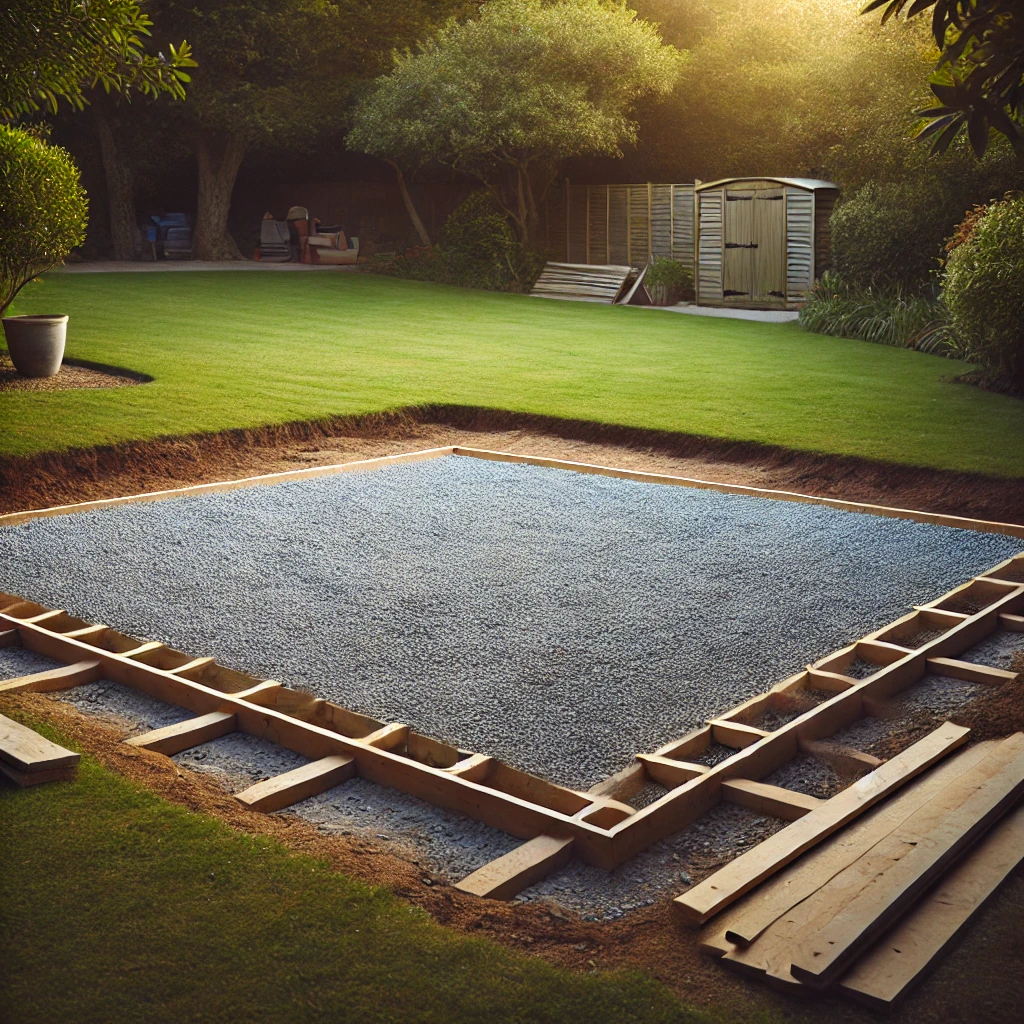
A solid base is crucial for the longevity and stability of your walkway. For a high-quality foundation, we recommend using Stone Chips or 1/8 Chip. These small stones, when tamped down properly, create a solid, stable layer that prevents shifting over time. After spreading your stone chips, use a tamper to compact the material thoroughly, ensuring a strong foundation.
Additionally, consider adding Stone Dust or a layer of 3/4″ Crushed Limestone for even more stability and improved drainage.
Tip: Add a layer of landscaping fabric underneath the stone base to help control weed growth and improve the durability of your walkway.
Step 4: Lay the Pavers
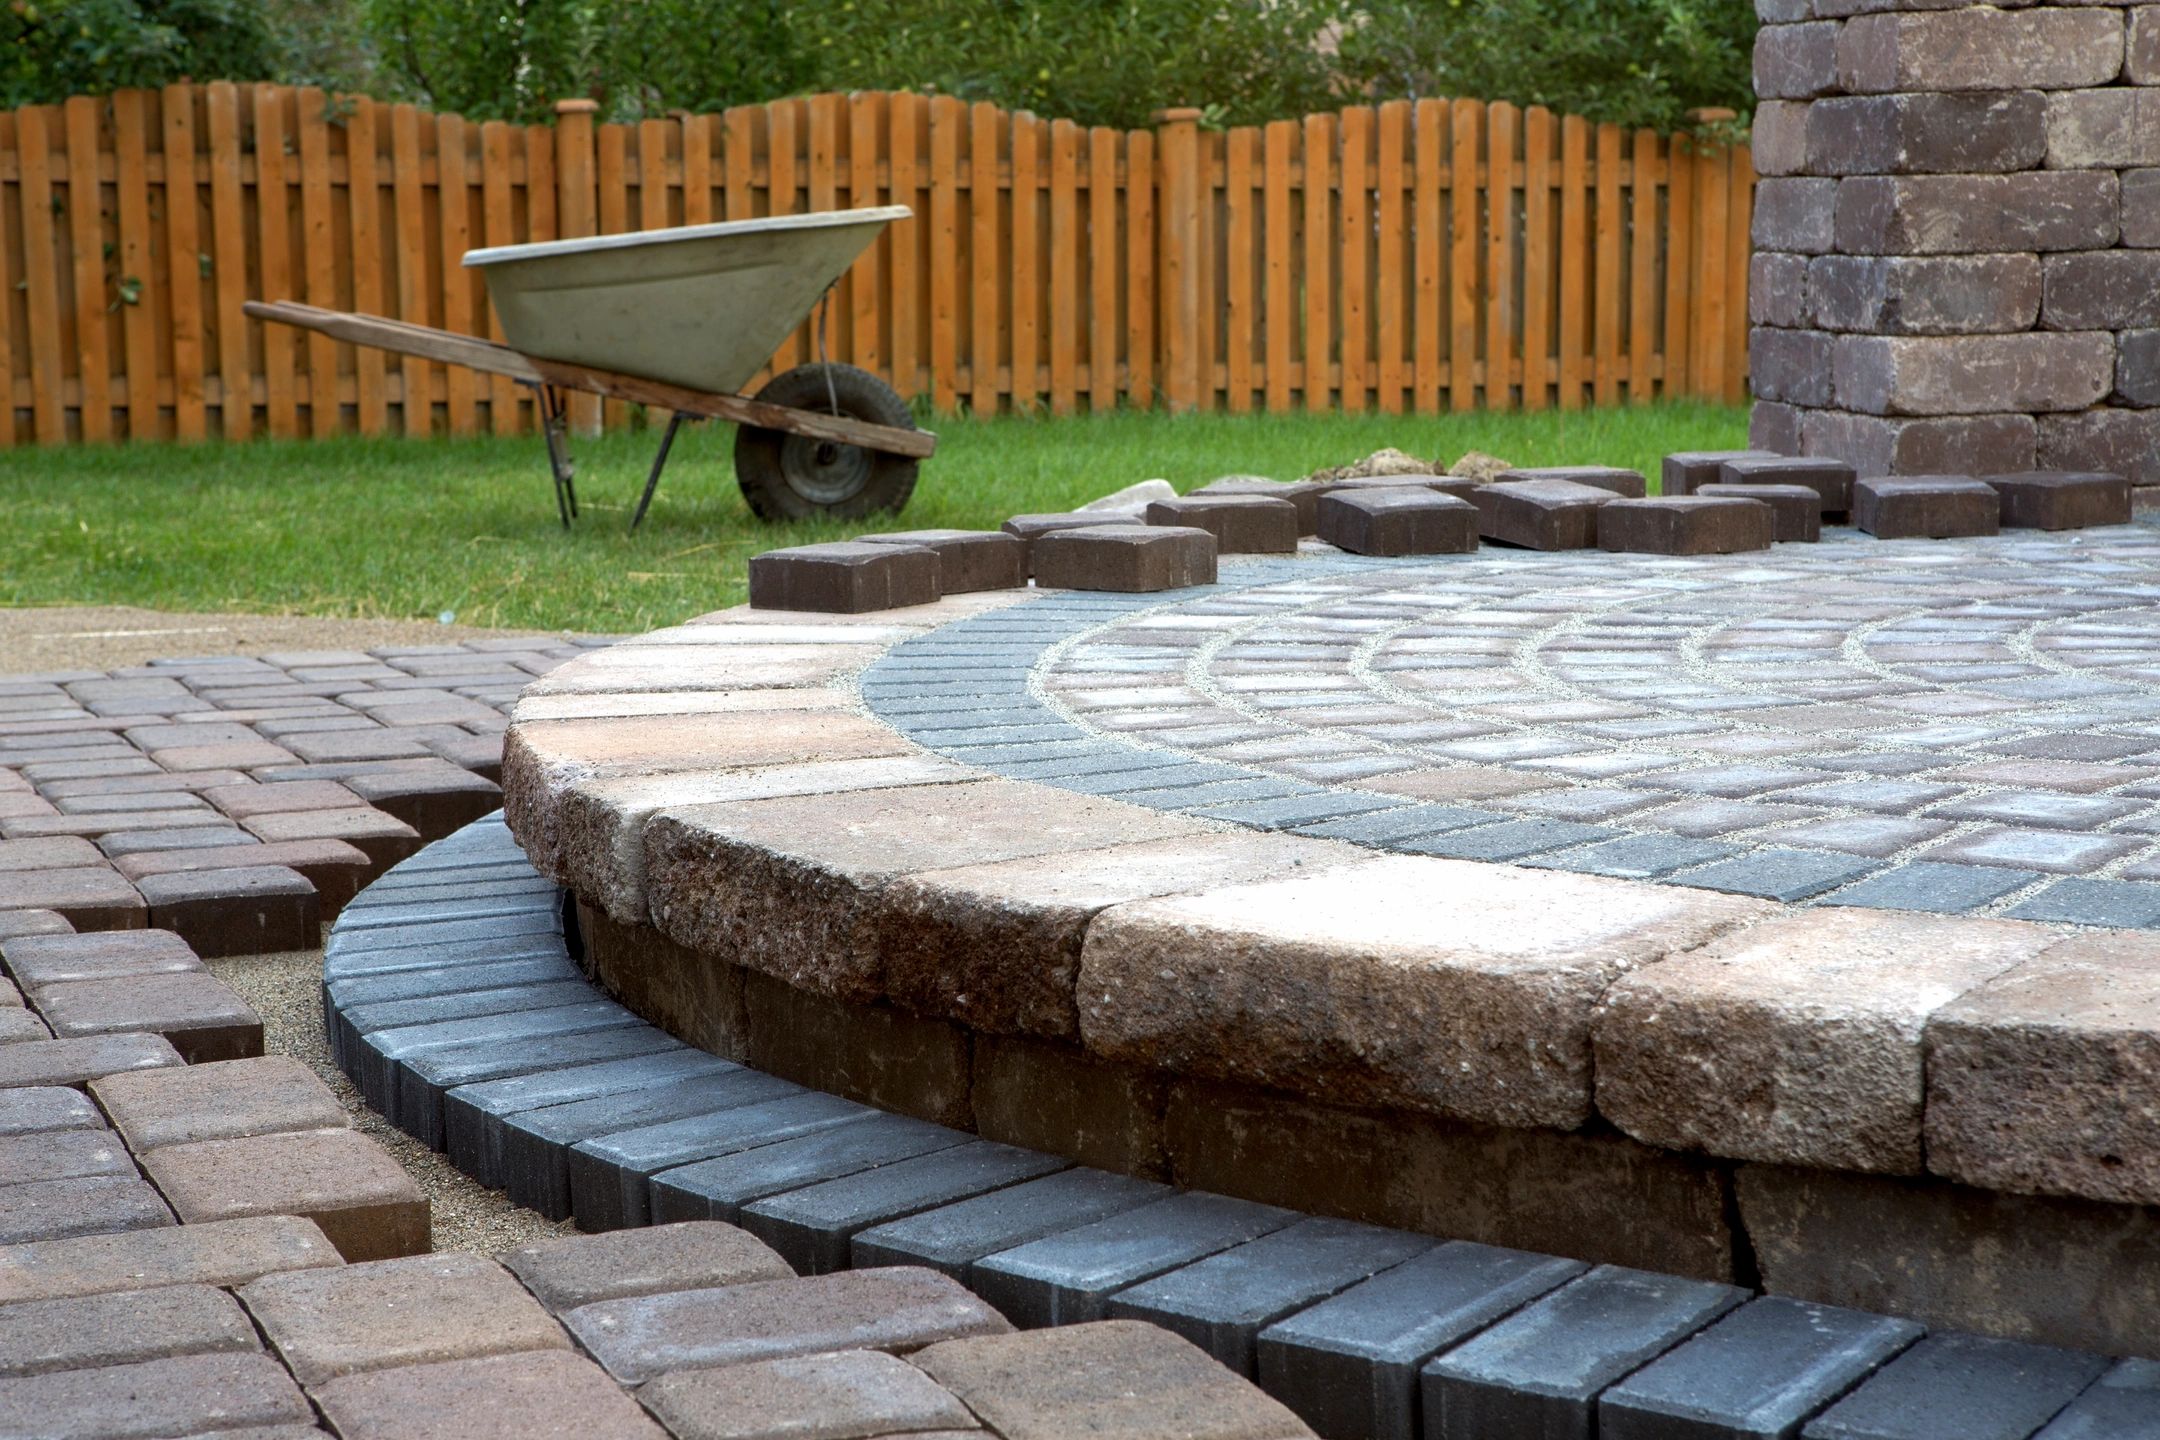
Now comes the fun part—laying your pavers! Whether you’re using small flagstone pieces, jumbo pavers, or a mixture of stone and pavers, lay your first row of pavers at one end of the walkway. Make sure each paver is level and flush with its neighbors.
Tip: Use a rubber mallet to tap the pavers into place. This will help seat them properly into the base and ensure a tight, stable fit.
Step 5: Add Sand and Finish the Edges
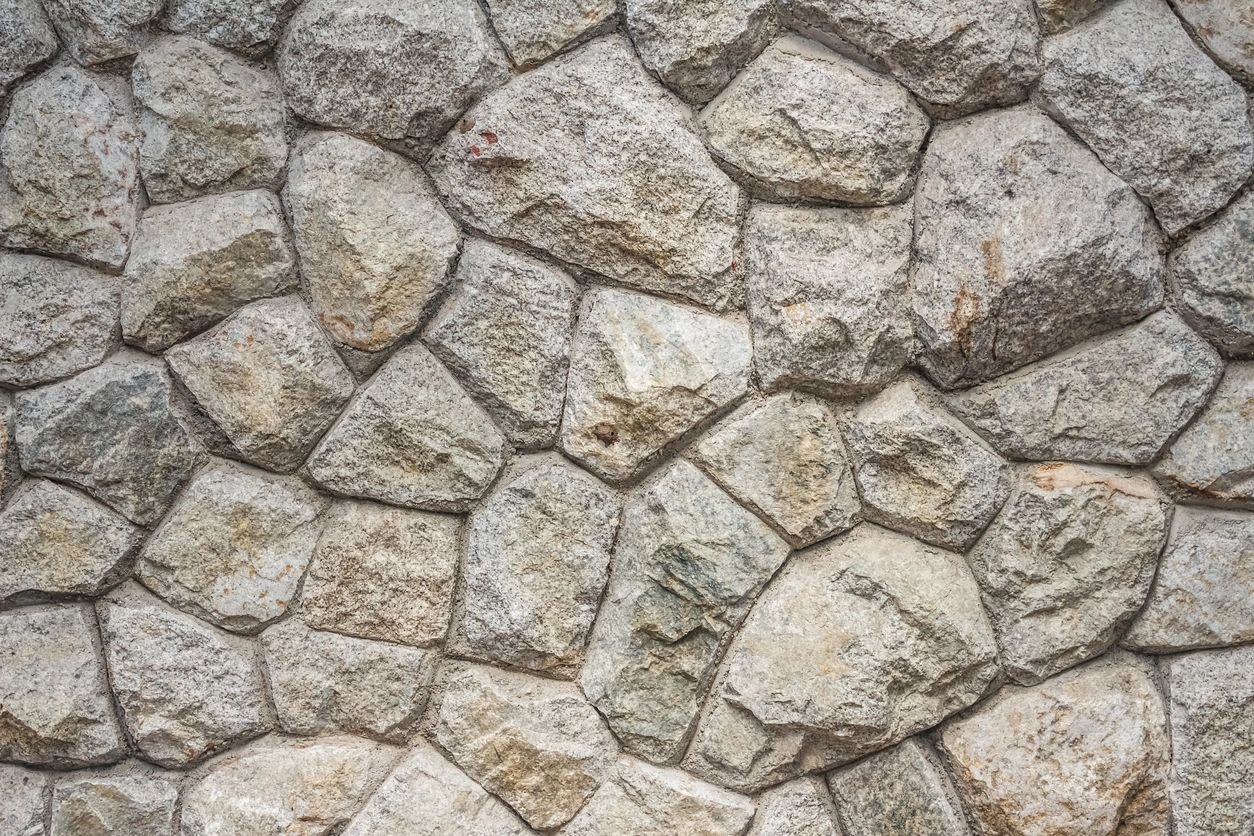
Once your pavers are laid, pour polymeric sand over the walkway, sweeping it into the gaps between the pavers. This not only locks the pavers into place but also helps prevent weeds from growing in between.
For the edges of your walkway, use retaining stone or edging material to hold the pavers securely in place. Be sure to secure the edging with stakes or spikes, and bury it slightly below the level of the pavers to create a clean, finished look.
Step 6: Final Touches

With your walkway complete, give it a good cleaning and light watering to help settle the sand. To add some personality and charm to your new path, consider using decorative stones like river rock or pea gravel along the edges. You can also plant low-maintenance flowers or grasses along the sides of the walkway to soften the edges and enhance the overall look.
Before and After:
Here’s a photo of a recent walkway project we completed using StoneKraft materials.


